May 21, 2026 • Callum Draper • 9 min reading time • Prices verified June 6, 2026
BIAB on Any Budget: Bags, Hop Spiders, and the Wort Chiller Decisions That Actually Move Efficiency
Brew-in-a-bag — usually shortened to BIAB — is a way of making beer where you steep your crushed grain directly in the brew kettle inside a large mesh bag, then lift the bag out and boil the resulting sugary liquid (called wort, pronounced “wert”) in the same pot. No separate mash tun required. No transfer pumps, no sparging vessel, no second piece of expensive stainless. That simplicity is exactly why BIAB converted so many people from extract brewing (using pre-made malt syrup) to all-grain brewing (starting from raw barley) years before the all-in-one electric systems made it trendy again. But here’s the thing most starter guides gloss over: the bag, the hop management strategy, and the chiller you choose interact in ways that genuinely move your efficiency numbers — the percentage of available sugar you actually capture. Get those three decisions right and 78–82% mash efficiency on a stovetop or propane setup is realistic. Get them wrong and you’re leaving 10–15 points on the table, padding your grain bill, and wondering why your beers keep coming in under-gravity.
This guide is for brewers who already understand the basics and are making purchasing decisions right now — probably comparing specific products, wondering whether the upgrade is worth it, and wanting the honest tradeoff math before clicking “add to cart.”
The Bag Decision: Mesh Size, Frame Support, and the Crush Connection
The bag is the cheapest lever in your BIAB setup and also the most misunderstood. Owners and forum veterans consistently make the same observation: a flimsy single-layer nylon bag isn’t a $15 savings — it’s a $15 tax on every batch you brew. Here’s why.
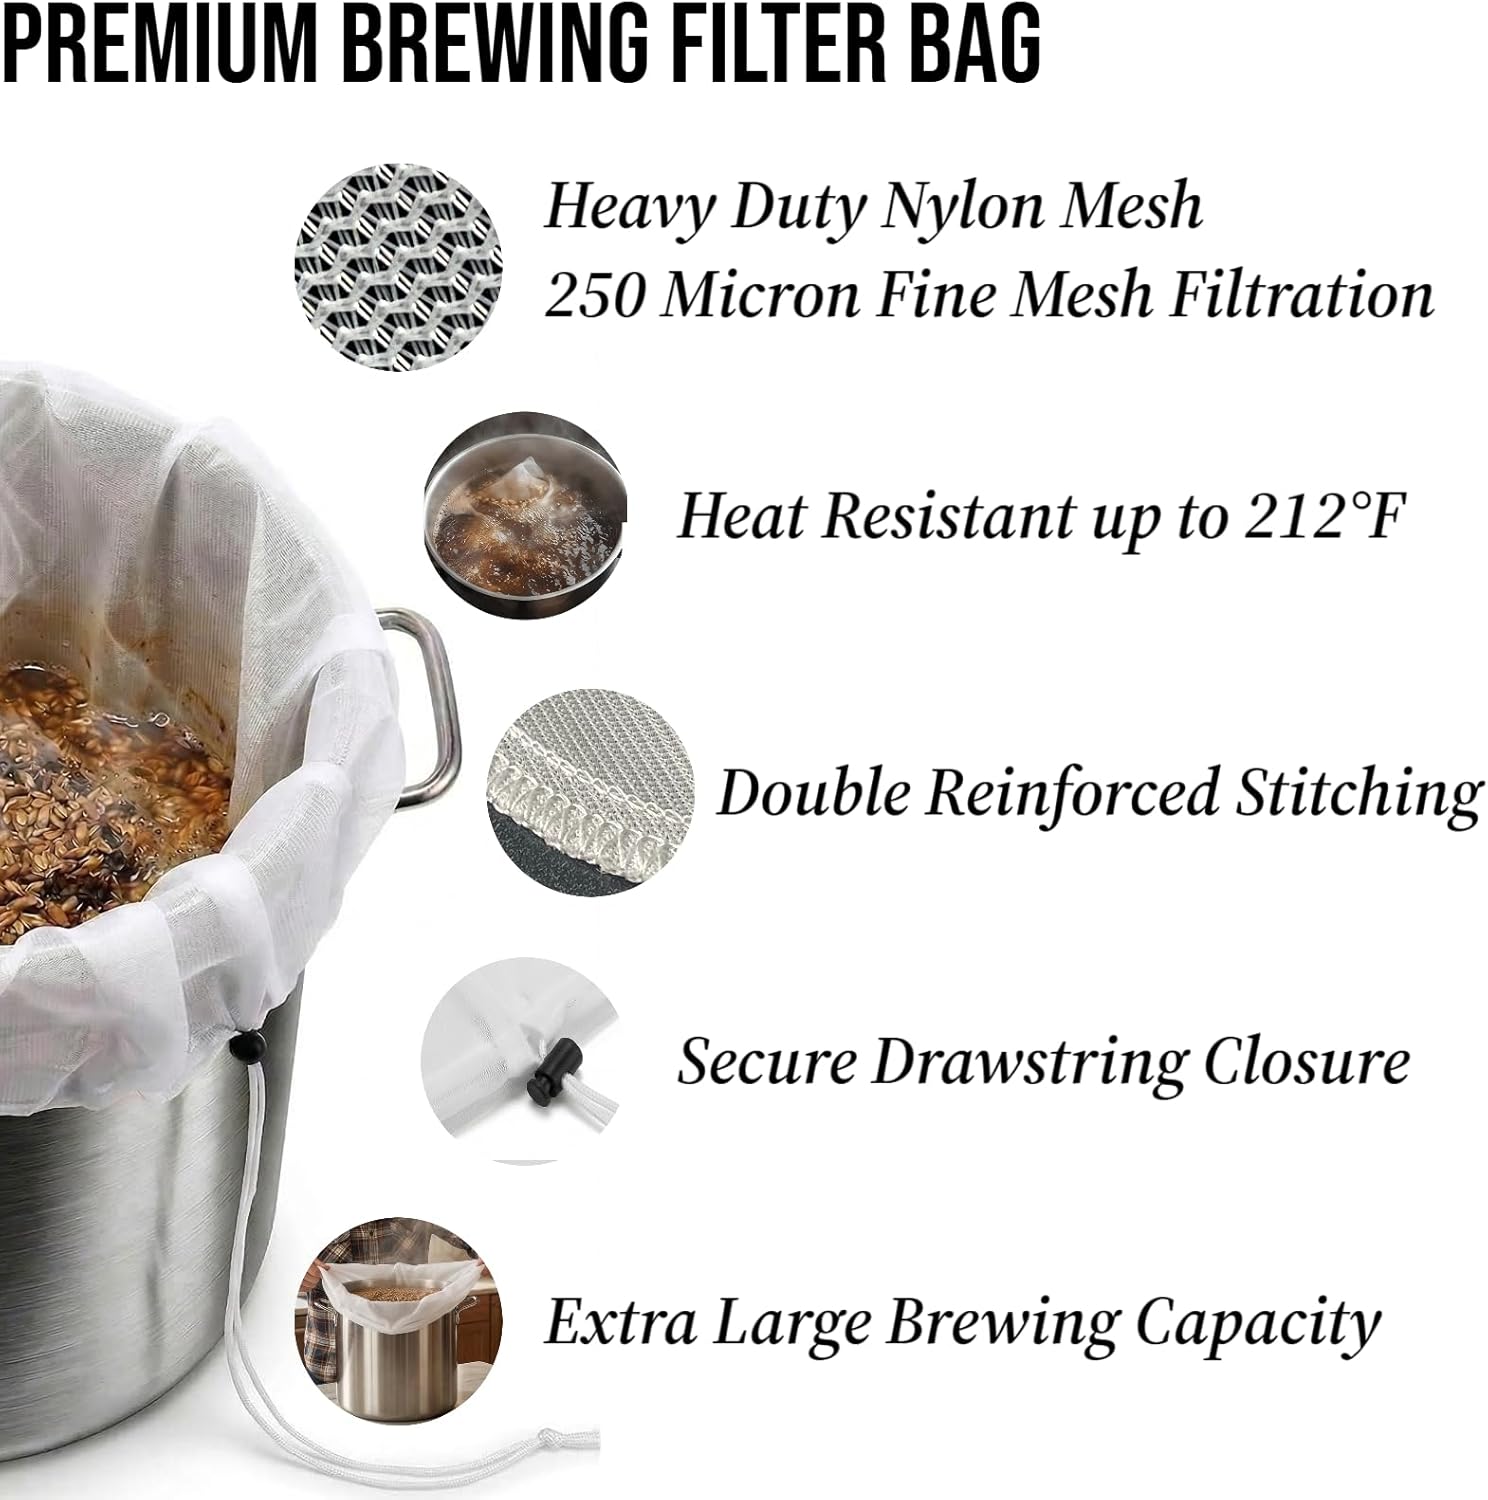
Mesh micron rating matters, but not in the direction most people think. A finer mesh (around 100–200 microns) holds back more grain particulate, which means less haze-forming material in your boil and slightly easier yeast flocculation later. But BYO Magazine’s BIAB technique coverage notes that too-fine a mesh under a heavy grain bill can create a “stuck” lift — the bag seals against the kettle sides under its own weight, making the lift dangerous and causing grain compaction that crushes your efficiency. The sweet spot most experienced BIAB brewers land on is a 170–210 micron voile or a reinforced nylon with a double-stitched base seam.
The crush connection is direct. John Palmer’s How to Brew explains that BIAB tolerates — and actually benefits from — a finer crush than traditional three-vessel mashing because the bag prevents stuck sparges. Owners consistently report that dialing the mill gap from a standard 0.045” down to 0.030”–0.035” adds 5–8 points of mash efficiency without any other change. If you’re renting your crush at a homebrew shop, ask them to tighten the gap. If you’re buying a mill, that adjustability is worth more than the sticker price difference between a base Barley Crusher and the adjustable Corona-style mills.
Frame support and the dunk-squeeze debate. A bag with a stainless or nylon hoop at the rim stays open during the mash without assistance, which matters when you’re adding grain solo. Brulosophy’s equipment coverage has noted that “squeezing” the bag at the end of the mash — wringing out residual wort — is one of the simplest ways to recover 0.5–1.0 points of gravity per gallon at no cost. Some traditionalists argue it increases tannin extraction; the experimental data published at brulosophy.com suggests the effect on final beer character is not detectable in triangle tests. Squeeze the bag.
By the numbers: bag investment vs. efficiency gain
| Bag type | Approx. cost | Realistic efficiency ceiling | Notes |
|---|---|---|---|
| Nylon paint strainer (reused) | $2–4 | 68–72% | Tears under 12+ lb grain bills |
| Single-layer nylon BIAB bag | $14–22 | 72–76% | Fine for 5-gal extract-conversion batches |
| Double-layer voile or reinforced nylon | $28–45 | 76–82% | Best general-purpose pick |
| Stainless false-bottom basket (AIO systems) | $80–200+ | 80–86% | Overkill for stovetop; baseline for Anvil/Grainfather |
Hop Management: When a Spider Is Worth It and When It Isn’t
Hop spiders — wire mesh cones or cylinders that hang inside the kettle during the boil and contain your hops — solve a specific problem: hop debris clogging your chiller, pump, and fermenter port. Whether they’re worth the $20–$60 they cost depends entirely on your hop usage patterns.
The case for the spider. If you’re brewing hop-forward IPAs with 6–10 oz of pellet hops in the boil, or if you’re using whole-cone hops at any quantity, a spider meaningfully reduces the amount of trub (sediment and hop debris) that transfers to your fermenter. Craft Beer & Brewing’s buyer guides on hop management note that brewers running immersion chillers in particular benefit from a spider because it keeps the chiller coils from getting packed with hop matter, which would slow your chill rate and keep your wort hot longer — which, in turn, means more alpha acid utilization than you planned for and a bitterness reading that overshoots your recipe target.
The case against. Pellet hops disintegrate on contact with hot wort. A significant fraction of the hop material — including the resins doing the actual bittering work — passes right through a standard 400-micron spider mesh anyway. Homebrewers Association technical resources have long noted that hop utilization differences between spider and no-spider approaches are small enough that your recipe software’s IBU calculation won’t catch them. For low-hop styles (lagers, wheat beers, session ales under 3 oz total additions), a spider adds a cleaning step without meaningfully changing your beer.
The honest decision rule: If you brew more than 50% hoppy styles, or if you’re adding dry hops in the kettle (a technique gaining traction for hazy IPAs), buy the spider. If you brew balanced or malt-forward beers and you’re using a plate or counterflow chiller with an inline filter, skip it and spend the money on chiller capacity instead.
A note on whole-cone hops. If you’re sourcing fresh whole-cone lots — increasingly available through bulk hop programs and single-origin growers — a spider becomes non-negotiable. Whole cones absorb wort at roughly 0.15–0.25 gallons per ounce and will consume your chiller if loose in the kettle.
The Wort Chiller Decision: Immersion vs. Counterflow vs. Plate
This is where the money conversation gets real, and where the efficiency impact is often underappreciated. Chilling speed affects hot-side aeration risk, cold break formation, and — most directly relevant to BIAB brewers — how much evaporation and caramelization continues after flameout. Every minute your wort stays above 170°F, you’re still extracting harsh tannins from any grain particulate that made it through the bag.
Immersion chillers (a coil of copper or stainless that you drop into the kettle and run tap water through) are the default entry point. Owners report that a quality 25-foot copper immersion chiller gets a 5-gallon batch from boil to pitching temperature in 20–35 minutes depending on tap water temperature. In summer months in warm climates, that number stretches to 45–60 minutes without a pre-chiller (a second smaller coil in an ice bath feeding cold water to the main coil). The main limitation is kettle footprint — a BIAB setup with a bag still draining over the kettle has no room for a chiller until the bag is fully out, which adds 5–10 minutes of high-temperature wait time.
Counterflow chillers run hot wort and cold water in opposite directions through separate channels, chilling as you pump out. They’re faster (typical 15–20 minute total knockout) and produce a cleaner cold break, but they require a pump and are harder to clean and verify as sanitary. Craft Beer & Brewing has noted that counterflow systems represent a meaningful step up in complexity that makes more sense once you’re also running a pump for whirlpooling — if you’re still doing gravity-fed BIAB, the complexity cost outweighs the time savings.
Plate chillers offer counterflow-level speed in a smaller form factor at a lower price (roughly $60–$120 vs. $150–$300 for a quality counterflow). The tradeoff: they clog easily with hop debris and require thorough backflushing. For a hop-heavy BIAB brewer without a spider, a plate chiller is a recipe for a ruined chiller within six batches. With a spider and a voile bag limiting trub, a plate chiller is a legitimate prosumer upgrade.
Decision framework by setup:
- Stovetop or single-burner propane, 5-gallon batches, mixed styles: 25-foot immersion chiller + pre-chiller if your summer tap water runs warm. Done. Spend the $40–$70 here before buying anything else.
- 10-gallon BIAB on a high-BTU burner, hop-forward focus: Immersion chiller + hop spider + pump for whirlpool, then evaluate counterflow after 20 batches.
- Anvil Foundry 10.5 or Grainfather G30 with built-in pump: Plate chiller is a natural pairing. Budget $80–$120 for the plate chiller and $25 for an inline filter or hop sock on the out port.
- Spike Flex+ or dedicated brewery room build: You’re past this guide — counterflow or glycol-assisted plate chilling is the conversation, and the electric brewery forums have the detailed plumbing diagrams.
Putting It Together: The Efficiency Math
Brewer’s Friend’s BIAB calculator (available at brewersfriend.com) lets you model the interaction between crush gap, mash thickness, and bag squeeze losses before you brew. The short version of what it shows: the single biggest variable in BIAB efficiency is crush fineness, followed by grain-to-water ratio (thinner mashes generally extract more efficiently up to a point), followed by bag squeeze pressure. Chiller speed doesn’t appear in the mash efficiency calculation, but it does affect pre-boil gravity accuracy — a slower chill means more evaporation and a higher-than-expected pre-boil gravity reading that can mislead your session-to-session tracking.
If you’re currently hitting 68–72% mash efficiency, the first thing to change is the crush — before buying anything. If you’re at 72–76% with a decent bag, adding a bag squeeze routine (and a grain bag with reinforced bottom seams that survives it) will get you to 78–80% at zero additional cost. The chiller upgrade is the third-priority efficiency investment, not the first.
The clear decision rule: spend money in this order — better bag and tighter crush first, hop management second (only if your styles demand it), chiller upgrade third. Each step is cheaper than the last one most people buy first.
Prices and product availability reflect May 2026 market conditions. Equipment pricing can shift meaningfully during hop harvest season and year-end homebrew retailer sales — check current listings before purchasing.